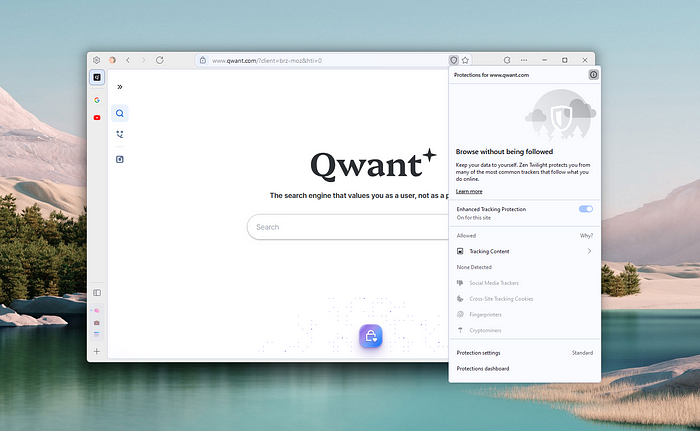
Installing Zen Browser on Linux: Download, Setup, and Create a Desktop Entry
Your Step-by-Step Guide to Installing Zen Browser on Linux with a Desktop Shortcut for Effortless Access
Zen Browser provides a minimalistic, privacy-focused web browsing experience. This guide walks you through downloading, extracting, and configuring Zen Browser, as well as creating a desktop entry for easy access.

Steps to Install Zen Browser
Step 1: Download the Latest Zen Browser Package
Use the wget command to download the latest version of Zen Browser:
wget --show-progress https://github.com/zen-browser/desktop/releases/latest/download/zen.linux-specific.tar.bz2
The wget --show-progress command helps monitor the download's progress in real-time. In this case, we're downloading the latest .tar.bz2 file, which is a compressed archive format suitable for Unix-based systems.
You can download the latest version of Zen Browser from their Github Repository too.
Step 2: Extract the Package to /opt
Extract the contents of the .tar.bz2 file directly into the /opt directory with the following command:
sudo tar xjf zen.linux-*.tar.bz2 -C /opt
Explanation of
tar xjf:x: Extracts the contents of the archive.j: Decompresses.tar.bz2files.f: Specifies the filename of the archive to extract.
The command places all files in the /opt/zen directory.
Step 3: Create a Symbolic Link for Easy Access
To make the zen command available system-wide, create a symbolic link from the executable file in /opt/zen to /usr/local/bin:
sudo ln -s /opt/zen/zen /usr/local/bin/zen
This step allows you to start Zen Browser by simply typing zen in your terminal.
Step 4: Create a Desktop Entry
Creating a desktop entry enables you to locate Zen Browser quickly via your application menu or by searching. To do this, open a new file using nano or your favourite text editor :
sudo nano /usr/local/share/applications/zen.desktop
Step 5: Add Desktop Entry Information
Paste the following content into the zen.desktop file. This entry provides information for your system to recognize Zen Browser as an application:
[Desktop Entry]
Version=1.0
Name=Zen Browser
Comment=Experience tranquillity while browsing the web without people tracking you!
GenericName=Web Browser
Keywords=Internet;WWW;Browser;Web;Explorer
Exec=zen
Terminal=false
X-MultipleArgs=false
Type=Application
Icon=/opt/zen/browser/chrome/icons/default/default128.png
Categories=GNOME;GTK;Network;WebBrowser;
MimeType=text/html;text/xml;application/xhtml+xml;application/xml;application/rss+xml;application/rdf+xml;image/gif;image/jpeg;image/png;x-scheme-handler/http;x-scheme-handler/https;x-scheme-handler/ftp;x-scheme-handler/chrome;video/webm;application/x-xpinstall;
StartupNotify=true
Explanation of Key Fields:
Exec=zen: Defines the command to execute Zen Browser.Icon: Points to the location of the Zen Browser icon.Categories: Makes it appear under the "Web Browser" category in the application menu.MimeType: Allows Zen Browser to handle common web content types.
Save the file and exit nano (usually by pressing Ctrl + X, then Y, then Enter).
Step 6: Remove the Downloaded Package
After extracting and setting up Zen Browser, you can delete the original downloaded file to free up space:
rm zen.linux-specific.tar.bz2
Summary
By following these steps, you’ve successfully installed Zen Browser on your Linux system and created an easy-to-access desktop entry. You can now search for Zen Browser in your applications menu or launch it by entering zen in the terminal. Enjoy a private and serene browsing experience!
